What should I measure before buying home gym equipment?
Measure three separate things: the room, the space needed to operate each item, and the route used to deliver it. Add doors, overhead obstructions, storage access and any furniture that stays. A machine fitting inside the room outline is only the first check; its working clearances and your movements must fit too.
On this page
Make a room record before choosing equipmentDraw the things that need to keep workingSeparate the machine rectangle from its operating areaMeasure height where the movement happensGive storage its own pickup areaFollow the delivery route all the way inTurn the drawing into a purchase decisionMake a room record before choosing equipment
Start with a tape measure, paper and a way to label photographs. Record the finished width and length at floor level, then measure again where the equipment's widest parts will sit. Skirting boards, radiators, window ledges and irregular walls can make those measurements different. Use one unit throughout the drawing. Inches work well for US equipment specifications; divide square inches by 144 when you need square feet.
Choose one corner as the origin. Record each fixed object's distance from that corner rather than leaving loose measurements scattered across photographs. For example, write that a closet begins 38 inches along the north wall and projects 24 inches into the room. Mark which wall is north on the sketch even if that is simply a label you chose. A shared reference makes it easier to compare layouts later.
A nominal 10-by-12-foot room contains 120 square feet. That number describes area, not a usable equipment package. A narrow door, an awkward closet or a low beam can rule out a purchase while leaving the area calculation unchanged. Preserve the measured outline as your base plan and make copies for different equipment arrangements.
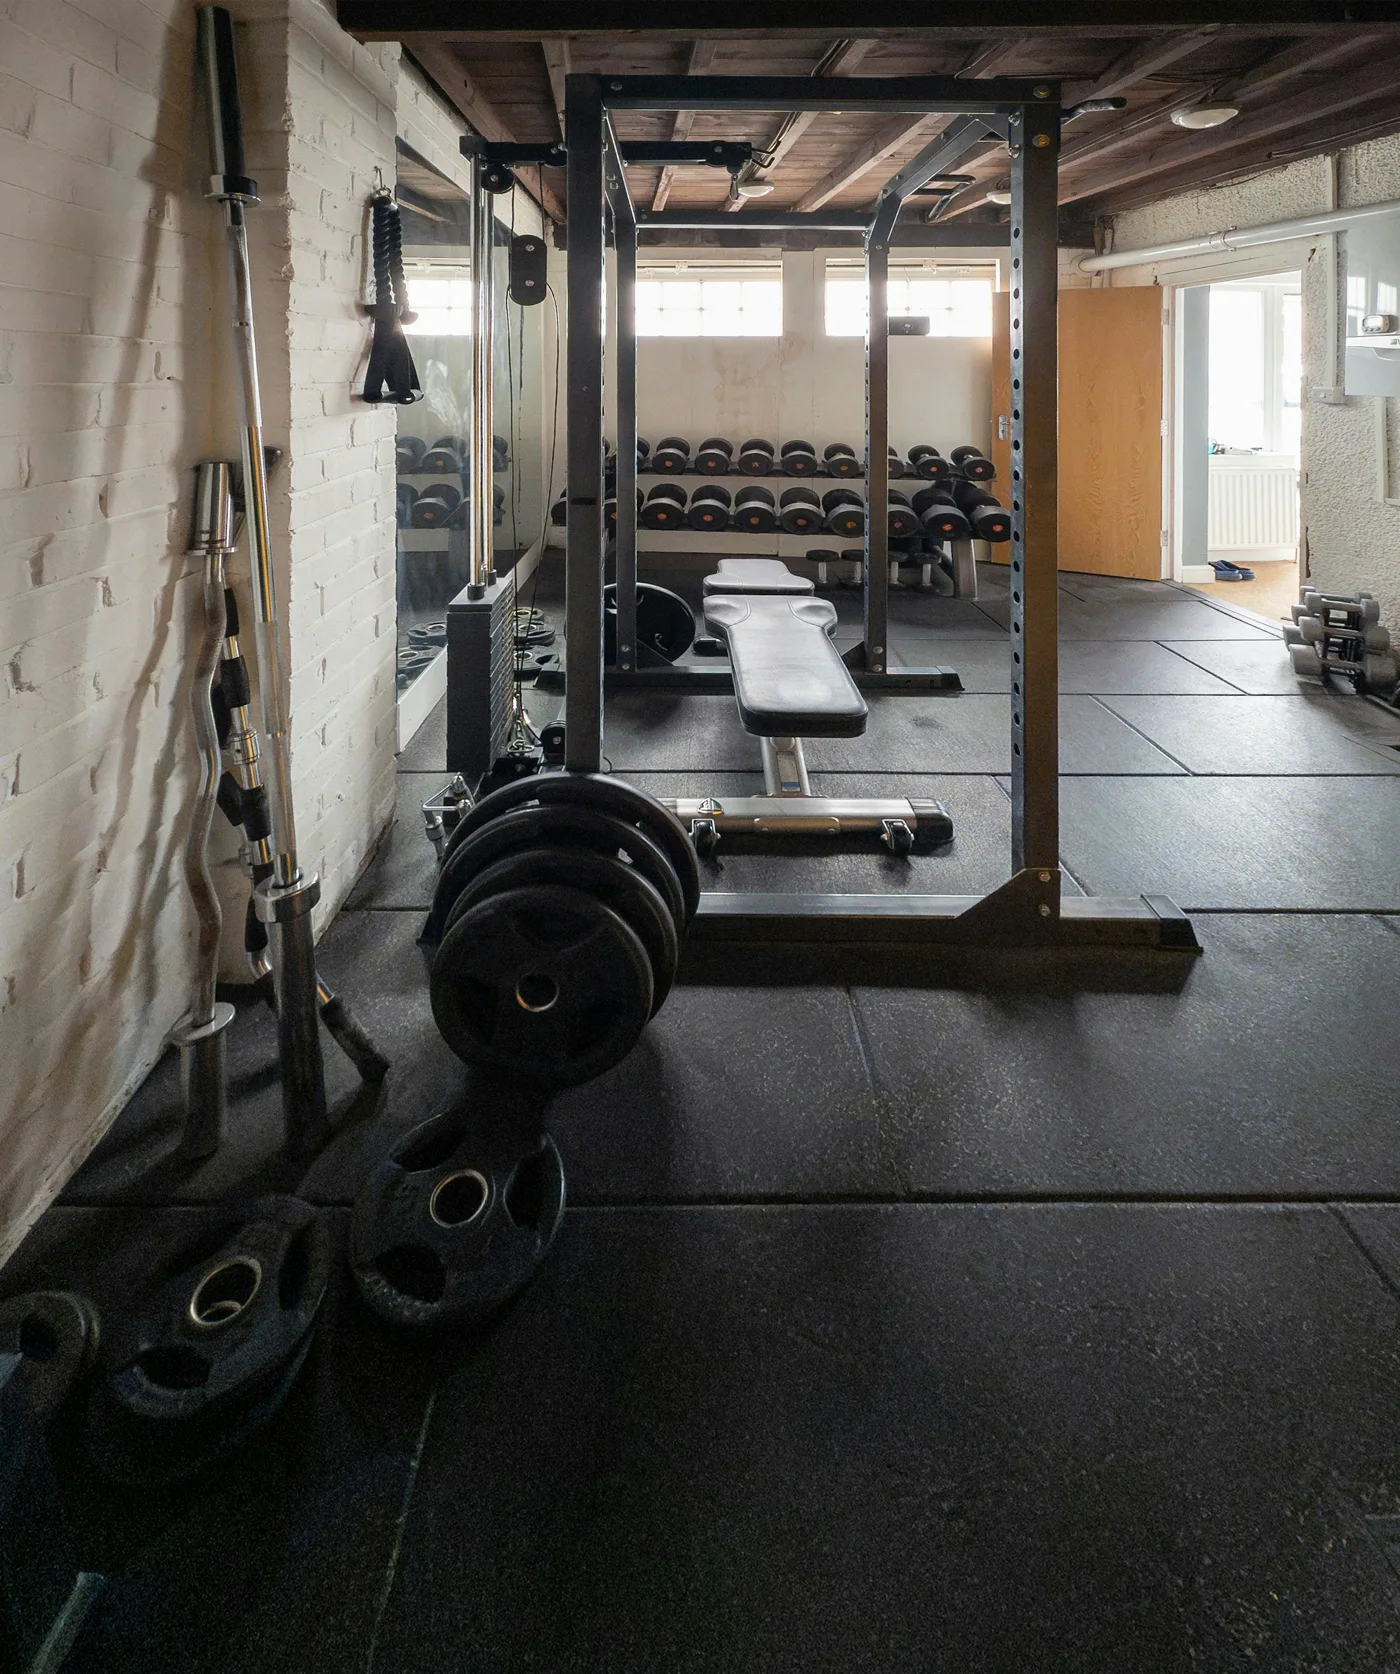
Draw the things that need to keep working
Add the doorway, its opening direction and the space swept by the door. Include closet doors, drawers, an opening sofa bed, windows you use and any fixed services requiring access. Represent these as occupied or reserved areas. Moving a bench into the doorway during exercise does not solve a storage problem; it moves the problem into the access route.
Record outlet locations for equipment that needs power. Measure the route a permitted power cable would take, including its relationship to feet and wheels. Ask the equipment maker or an appropriate electrician about supply requirements instead of selecting an extension arrangement from a room sketch. The planner can show a conflict, but it cannot establish that an electrical setup is suitable.
Next, walk the room in ordinary household mode. Can someone reach the closet, open the window or collect a stored item? Repeat the walk with the proposed equipment in use. Shared rooms need both arrangements to work. If a chair must move, mark its destination; otherwise the drawing has omitted part of the layout.
If the plan includes a mirror, mark its proposed wall area and keep storage and moving equipment out of that space. Check mirror mounting and placement separately: a clear rectangle on the drawing does not confirm a suitable wall fixing.
Separate the machine rectangle from its operating area
Find the current manual for the exact model and configuration. Write down the assembled footprint, any working dimensions and required clearances on each side. Keep those entries separate. A rower's stored length, a treadmill's belt size and a rack's inside depth are not interchangeable with its assembled footprint.
For a rectangular item, operating width equals machine width plus the specified left and right allowances. Operating depth equals machine depth plus the front and rear allowances. These simple sums work when the manual describes rectangular clearances. They do not replace requirements for access, ventilation or moving attachments that extend beyond that rectangle.
A useful manufacturer example is the Concept2 RowErg. Concept2 lists an assembled footprint of 8 by 2 feet and recommends 9 by 4 feet with clearance for use. That changes the planning rectangle from 16 to 36 square feet. Those are RowErg figures, not a universal rower standard. Concept2 RowErg specifications.
In a hypothetical empty 10-by-12-foot room, that 4-by-9-foot operating rectangle fits in either orientation. The remaining 84 square feet form strips around it rather than one unobstructed area. A storage unit may fit one strip while a bench does not. The 10-by-12 layout examples show why the shape of the remainder matters as much as its total area.
Measure height where the movement happens
Record the lowest overhead object above each proposed station: beams, lights, ducts, fans and a garage door in its relevant position. Measure from the finished training surface. Adding flooring or a platform changes the starting point, so a ceiling measurement taken from bare concrete may need updating.
For a treadmill or elliptical, use the maker's ceiling method, including the relevant raised deck or pedal position. For a pull-up station, check the movement above the bar as well as the frame height. For standing presses, the hands or equipment can travel above the head. Avoid borrowing a single headroom number from another exercise or product.
A useful planning record has separate entries for equipment height, required working height and measured available height. Leave unknown fields visibly unresolved. A 90-inch upright fitting under a 96-inch ceiling establishes only that the upright fits vertically; it says nothing about assembly space or the exercise performed at its top.
Room layout planner
Place equipment footprints and allow space to use them.
Give storage its own pickup area
Measure the fully loaded storage setup. Dumbbell heads, plate edges and projecting handles can extend beyond an empty rack. Include access needed to remove equipment without reaching through another station. A wall location that looks efficient on paper may be awkward when the heaviest item is on the lowest shelf.
Use cardboard or painter's tape suitable for the existing finish to mark the outlines. Rehearse approaching storage, picking up an imaginary item and returning it. This is a layout exercise, not a test with heavy weights. Include the bench in both its exercise and parked positions. Check that permitted folding or upright storage is actually documented for that model.
If two people will train together, draw both working areas at the same time. Sequential reuse can make a small room useful, but two activities cannot claim the same clearance simultaneously. A shared dumbbell stand may create a waiting point even when both exercise positions fit.
Follow the delivery route all the way in
Measure the clear doorway opening, not the door's nominal retail size. Note the handle, closer, threshold and anything narrowing the path. Continue through landings, turns, stairs and the final room entrance. Obtain package dimensions and weights, plus the largest component that can be moved separately under the manufacturer's instructions.
A box whose width is smaller than a doorway can still be unable to turn through the next landing. Comparing diagonals alone does not verify a three-dimensional move. Use the measurements to discuss difficult handling with the seller or mover. Do not assume the product can be dismantled beyond the documented assembly steps.
Delivery service is another measurement constraint. REP describes its freight deliveries as curbside and distinguishes them from in-home movement, unpacking and assembly. That is a reason to confirm the actual service on your order, not a rule for every seller. REP freight guidance. A clear route needs a practical handling plan as well as enough inches.
Turn the drawing into a purchase decision
Enter the room and equipment measurements in the room layout planner. Its default footprints are starting examples; replace them with your own records. The planner provides separate top, right, bottom and left clearance fields. Match those sides to the machine’s orientation, enter the exact documented allowances and recheck their positions after rotating the item.
Keep three versions of the plan: equipment stored, primary exercise in use, and the largest planned movement. A purchase belongs on the shortlist only when its necessary version works without displacing an object into an unplanned location. Leave a dated note beside every unresolved requirement so an empty measurement is not mistaken for a zero allowance.
Before ordering, compare the final layout with flooring compatibility, equipment installation requirements and any meaningful uncertainty about the supporting structure. Room arithmetic cannot assess floor capacity or anchor suitability. The deliverable you want is a measured plan that explains why the equipment fits, which requirements were checked and what needs a separate answer.
More questions, answered.
Can I plan a home gym from square footage alone?
Square footage is a useful first filter, but shape, access and operating clearances decide whether equipment fits. Draw the station and its clearances inside the measured room, then account for doors and storage.
Can different exercise areas share the same space?
Yes, when the activities happen sequentially and every moved item has a documented parking position. Keep clearances available whenever the relevant equipment is being used.
Should I measure before installing gym flooring?
Measure before buying, then account for the proposed flooring thickness. Recheck doors, thresholds and height-sensitive stations from the finished surface before the equipment is installed.
Sources & further reading
Manufacturer documents and primary sources used in this guide. The current manual for your exact model takes precedence when a version changes.
How our research works